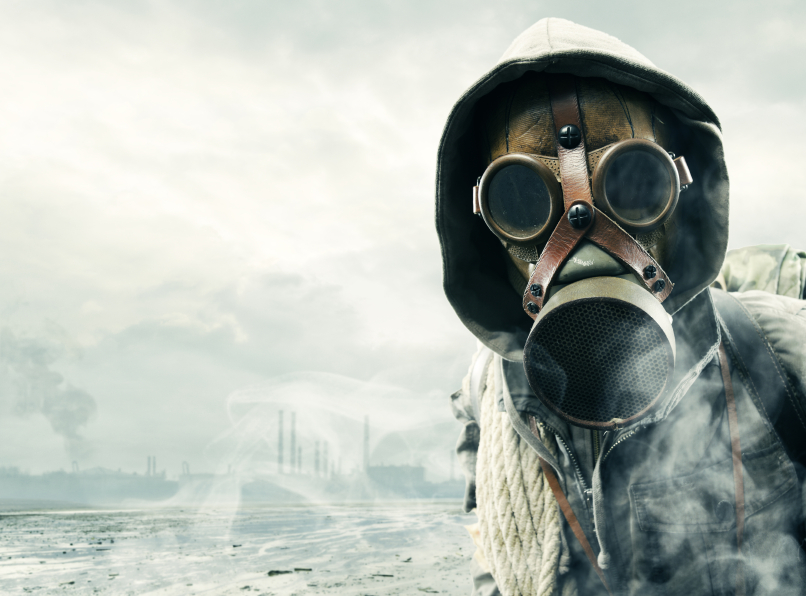
3 DIY gas masks you can make to prepare for disaster
03/19/2020 / By Arsenio Toledo

Tear gas, pepper spray and other airborne crowd control elements can enter the air in your neighborhood at any moment, especially if government crackdowns on certain freedoms continue and escalate into rioting and civil unrest. You may need a gas mask.
A gas mask prepares you for the possibility that you may have to live in or near a place where there’s a large presence of toxic particles in the air. If you live in an area close to or powered by nuclear energy, or near a place where the military stores nuclear weapons, owning a gas mask makes even more sense.
If you have the time, materials and opportunity to do so, you can make your own gas mask. While expensive military and police-grade gas masks will be your best options, improvised respirators can still give you a degree of protection from airborne and gas particles. Here are three ways to make your own gas mask. (h/t to SurvivalSullivan.com)
The standard DIY gas mask
For this standard homemade gas mask, all you need is a two-liter plastic soda bottle, a dust mask (preferably N95 masks or better), a roll of duct tape and a knife.
This gas mask takes no time to make, and costs very little. Plus, you’re more likely to have the gear you need to make this.
Here are the steps to follow:
- At the bottom of your plastic soda bottle, there’s a seam. Using your knife, cut along the seam until you’ve completely cut off the bottom.
- Cut a U-shape on the side of the bottle. The U’s bottom should be 2 inches below the bottle cap, and the width should be large enough to fit your face through it.
- Take off the bands from your dust mask.
- Place your dust mask inside the bottle, right at the bottom of the U, and duct tape your mask to the bottle. Make sure you have a solid seal around your mask area, and don’t leave any gaps where gas can sneak in. If you’re unsure, put more duct tape.
- Duct tape the edges of the bottle, so you don’t accidentally injure yourself.
- Cut out slits on the sides of your bottle, and thread the dust mask’s bands through the slits. Tie off the ends so they don’t come out, and duct tape the slits once you’re done.
- Using your knife, punch a few small holes into the bottle cap.
- Wear your mask to test it out.
The improved DIY gas mask
If you’re looking for something that takes a little more time to make, but can offer a lot more protection, this DIY gas mask will do the trick. You will need the same items as a standard DIY gas mask, plus some glue and stapler.
There’s a second part to this mask, as it needs an air filter. You will need two more plastic bottles, a rubber hose, some activated charcoal and pillow stuffing.
Here’s how to make the mask:
- Follow the first few steps of the standard DIY gas mask. However, instead of duct taping the edges of the plastic bottle, use glue to form a rubber insulation. This creates a seal that will keep contaminated air away from your face.
- Instead of cutting holes into the sides and duct taping them, use a stapler to lessen your chances of being exposed to tiny particles.
Here are the steps for the air filter part of the gas mask:
- Cut off the top of the plastic bottle. Fill the bottom with 3-4 inches of activated charcoal. This can filter out chlorine and carbon-based chemicals.
- Cut the bottom off the other plastic bottle. Leave the cap on. Fill this bottle with 3-4 inches of pillow stuffing.
- Slide the bottle together and duct tape them shut.
- Poke 6-7 tiny holes in the charcoal end of the filter when you need to use the gas mask.
- Using your rubber hose, connect the bottom of your mask to your filter and duct tape them together.
The dual filter DIY gas mask
This gas mask requires a lot more material, time and attention to detail. But in return, you c
